BG 3
64 MHz VLBI setup (BG3)
The highest data rate VLBI which can be achieved at Hobart using the DAS/LBAHDR system is 512 Mbps (dual polarization, 64 MHz with 2-bit sampling). The 64 MHz mode for the DAS differs from other modes in that it does not use a digit filter. The only filtering is that which is present prior to the DAS input (so at Hobart this is the 1152/64 MHz bandpass filters in the frequency translator).
Installing the BG3
To observe in this mode requires us to connect the DAS to the VSIB box using the "BG3" cable, rather than the standard "BG1" cable. The` BG3 cable can be found hanging around the back of the DAS rack. It has three connectors on one end (the DAS end) and one on the other. Installation (or removal) of the BG3 can (and should) occur while the DAS and the VSIB are powered up. To install the BG3
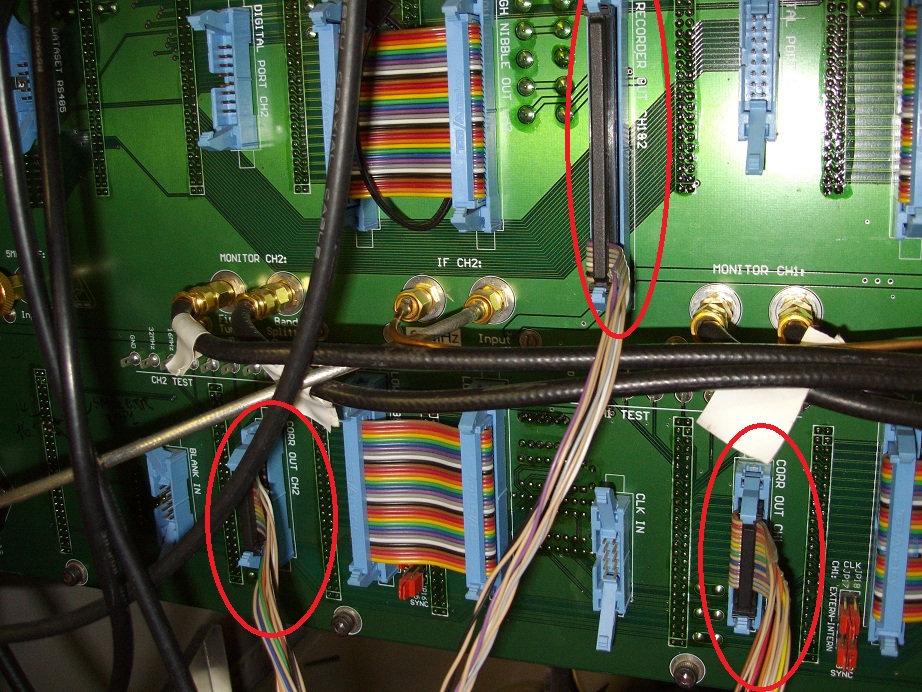
- Unplug the correlator output plugs on the back of the DAS and plug the two small connectors on the BG3 into the appropriately labelled connectors (correlator channels 1 and 2 respectively are labelled on the DAS back plane).
- The 50 pin plug (which on the BG3 has only a few wires connected) should go into the main 50 pin output plug on the DAS (this will probably have the BG1 cable running from it to the VSIB box below).

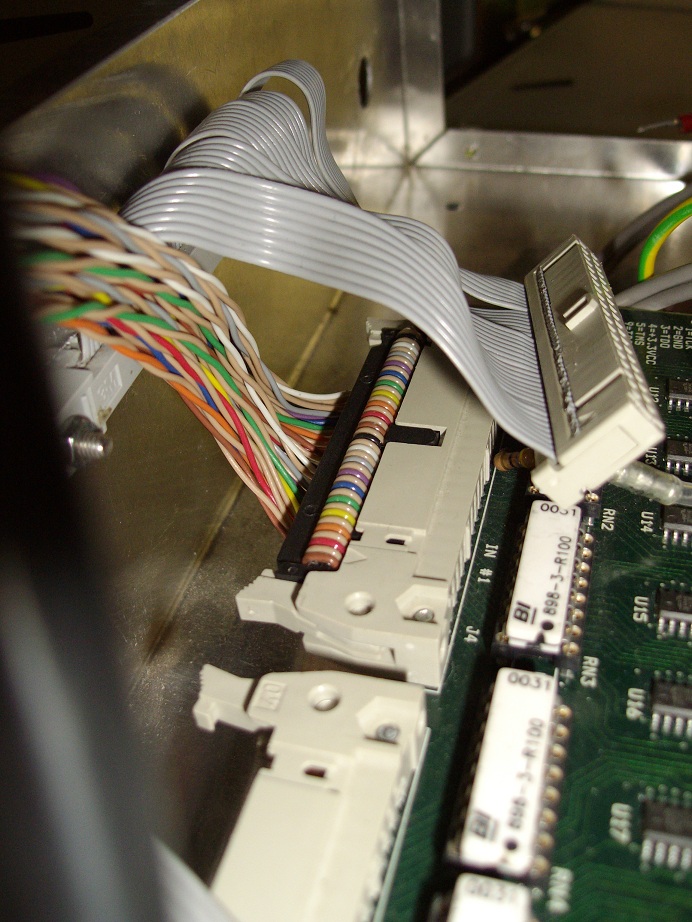
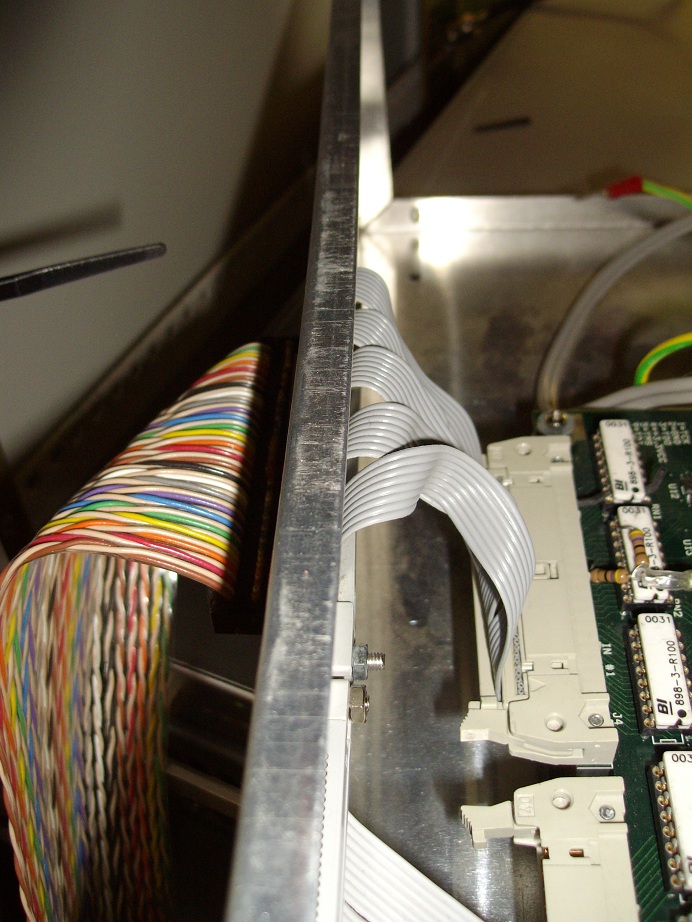
- Connect the other end of the BG3 cable to the VSIB 50 pin connector inside the VSIB box (the external connector is OK for the lower data rates for the BG1 cable, and does not need to be disconnected).

Removing the BG3
This is essentially the reverse process to that outlined above.
- Remove the BG3 connector from the inside connector on the VSIB box and reconnect the cable from the external connector onto the board.
- Disconnect the BG3 cable from the main 50 pin output plug on the DAS and connect the BG1 to run from it to the external 50 pin port on the VSIB box (only one of the external 50 pin connectors is connected to the board, so it should be obvious which one to use).
- Disconnect the BG3 cable from the correlator ports and reconnect the correlator plugs.

DAS profile
Use the 64MHZ_N.PRO profile. Unlike other DAS profiles it is not possible to invert the signal in the profile, so whether the signal presented to the DAS is inverted or not depends upon the receiver being used. For example for L-band the bandpasses are inverted.
Checking the setup
- You can check coherence for the 64 MHz setup by creating a tone at a sky frequency of (Centre freq - 16 MHz + 5 MHz). You would think it should be - 32 MHz in this expression, but it isn't (I'm not sure why, explanations welcomed).
- You can look at the bandpass using the following commands
- ssh vlbi@hovsi (login with the appropriate password).
- cd /data/internal/test
- vsib_record -t 1s -w 32
- The recorded statistics should be 33/33/17/17 rather than the usual 17/33/33/17 for 16 MHz bandpasses.
- fauto -n 1024 <filename from vsib_record command>
- You can inject tones to determine whether the band is inverted or not. NOTE: At Hobart (and I think also Ceduna) the 64 MHz bandpass filters in the frequency translator are really a bit too broad and so you don't see a roll off at the edge of the band, often you see the bandpass rise up a little due to aliasing. Don't mistake this for a bandpass with inverted amplitude (which has been done before).
